|
|
|
Information
- The Good Guys
- The Bad Guys
- Other Characters
- FAQ
- Cast and Credits
- Official Press
- Tour the Pond - Episode Guide
- Did You Know?
Multimedia
- Offical Pics
- Coloring Book
- Screengrabs
- Original Art
- How to Draw...
- Fan Gallery - Sounds
- Video
- Music Videos - Songs
Fanfiction
- The Dragon Chronicles
- Chronicles Characters
- Fan Archive - Fan
Characters
- Other Fandoms
Drake 1 - Desktop Icons - AIM Icons - Wallpaper - Soundscheme - Winamp Skin
Links - Links - International Links - Webrings
Extras - Forum - Sign Guestbook - Read Guestbook - E-mail Zelda - Save the Ducks - Timeline - Zelda's Rants
Copyright � 2002
Zelda

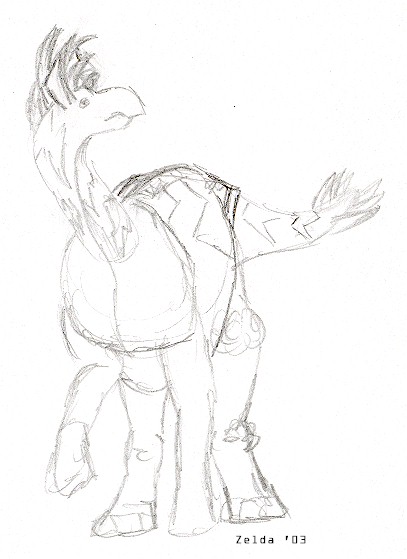
Rough Sketch
A rough sketch is just for feeling out the position and pose of your subject. Since you've framed out where you want things to go, start filling them in. But don't worry about detail, you can add that later.
Don't be afraid sketch a few ideas before you go back and erase. It's a good idea to make your marks light at first. Then, pick the line you like and darken it, before you erase everything else.
Don't sweat the small stuff just yet. Work out things like the position of fingers and toes first. You can add the claws in later steps.


What's above is the process of a sketch from start to finish, from the frame to the final details. Start from right to left, top to bottom. All four of the characters are in various stages of sighting or catching a ball. Northstar has the rough sketch form, notice the eraser marks showing how I've tried to reposition his hind legs. Next is Silver, who has the details of eyes, major wing feathers, and toes added in. The next picture underneath starts with Zelda, who is basically fleshed out with the exception of finalizing the feet and adding skin details. Last but not least is Diamond, fully fleshed out and complete with skin details.
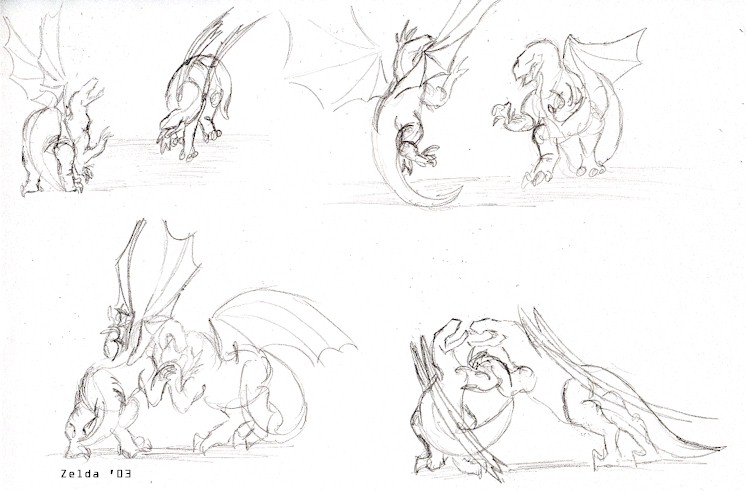
Rough sketches can serve many purposes, they don't have to be turned into finished drawings. Above are some sketches in storyboard format of two dragons fighting. The challenger comes in from the left, while the eventually victorious dragon stays on the right. You can see how, although the pictures are all different, you can connect one to another, and assume action in between them. These pictures start from the left, going top to bottom. The fight ends in the picture on the right.
The above is a semi-storyboard, a series of images that came to mind thanks to TOOL's 'Schism'.
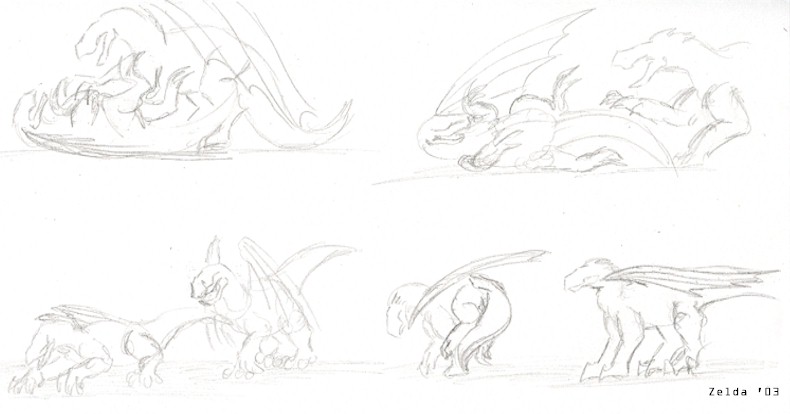
It may also be helpful to do your rough sketching on scrap paper, if you're using good materials for your final product. Experiment beforehand with body posture and muscle positions, before you transfer your ideas over to good paper.
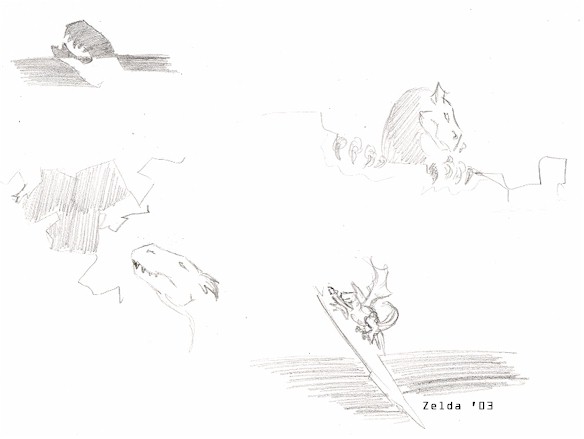
A good way to test your skills is to try sketching a
character without ever erasing or going back over previous lines. Above is such a sketch
of a rearing Zelda on the left, and a startled Saura on the right. This is what a good
sketch should look like before you start choosing which lines you want, and erasing the
ones you don't. Want a real challenge? Try sketching a character with your eyes closed!
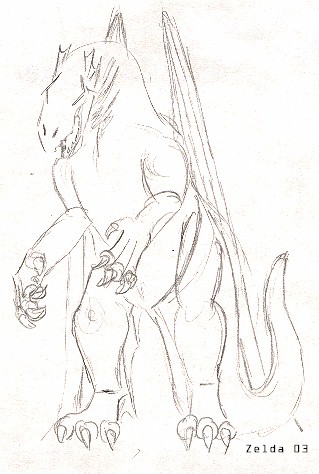
Although it probably isn't the technical term, I call these types of drawings
one-sketches. I like doing them because they often turn out better than the finished
drawing itself!

Here are a series of one-sketch studies of dragons from an angular front view.